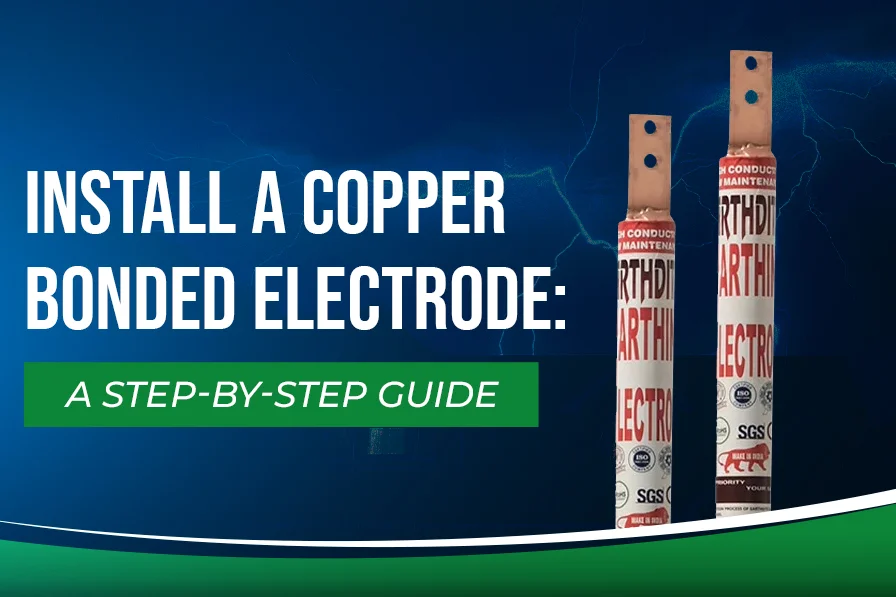
Proper earthing is essential for safety in electrical systems. A copper bonded earthing electrode ensures effective grounding, reducing electrical hazards. This guide will take you through the step-by-step process of installing a copper earthing electrode efficiently.
At GSC Infra Solutions, we specialize in high-quality copper bonded chemical earthing solutions designed for long-lasting performance. Follow this guide to ensure a safe and reliable grounding system for your facility.
Why Choose a Copper Bonded Earthing Electrode?
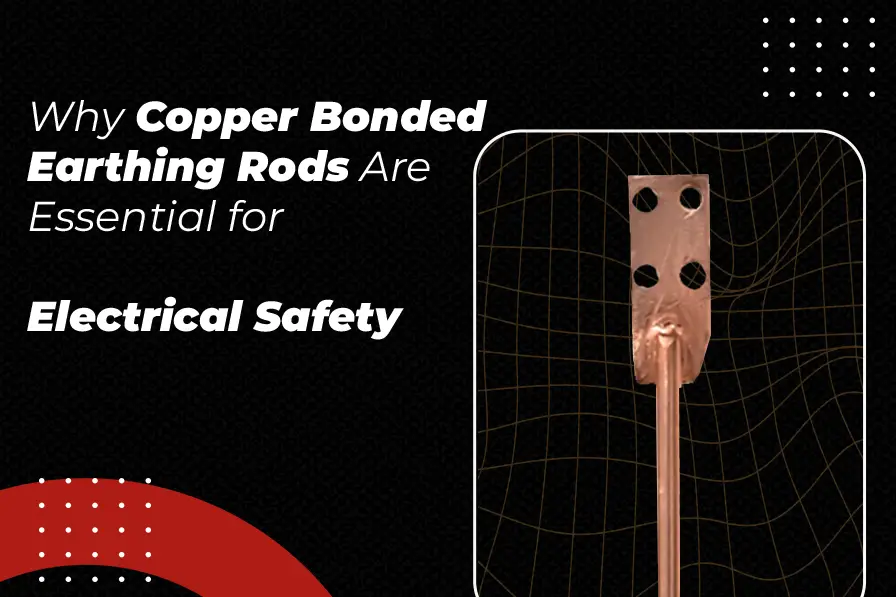
A copper bonded earthing electrode is a highly efficient grounding solution due to its corrosion resistance, high conductivity, and durability. Unlike traditional methods, copper chemical earthing ensures better safety, making it the preferred choice for residential, commercial, and industrial applications.
Benefits of Using Copper Earthing Electrodes
- Corrosion Resistance: Copper bonding protects against rust and decay.
- High Conductivity: Ensures better electrical grounding.
- Long Lifespan: More durable than conventional earthing rods.
- Cost-Effective: Despite the copper bonded earthing electrode price, its longevity makes it a worthwhile investment.
Step-by-Step Guide to Install a Copper Bonded Earthing Electrode
Follow these steps for a successful copper bonded chemical earthing installation.
Step 1: Gather Required Materials
Before installation, ensure you have:
- Copper bonded earthing electrode (choose based on your needs)
- Earthing pit materials (salt, charcoal, and backfill compound)
- Earth pit cover
- Water for soil moisture
- Ground rod clamp and earthing wire
Step 2: Choose the Right Location
Select a spot away from electrical interference, ensuring:
- The soil is moist or can retain moisture.
- The location is easily accessible for maintenance.
- The electrode is installed at a safe distance from buildings and underground utilities.
Step 3: Dig the Earth Pit
Dig a pit with a depth of at least 2-3 meters, depending on soil conditions. A deeper pit may be required in dry soil for better conductivity.
Step 4: Insert the Copper Bonded Electrode
Place the copper earthing electrode vertically into the pit. Ensure the electrode reaches the required depth for effective grounding.
Step 5: Add Backfill Material
Surround the earthing electrode rod with a mixture of salt, charcoal, and a backfill compound. This enhances conductivity and extends the electrode’s lifespan.
Step 6: Connect the Grounding Wire
Securely connect the grounding wire to the electrode using a clamp. Use a high-quality conductor for an effective connection.
Step 7: Test the Earthing System
Check the resistance level using an earth resistance tester. A good copper chemical earthing system should have low resistance for efficient grounding.
Step 8: Seal the Earth Pit
Cover the pit with an earthing pit cover for protection. Label the cover for easy identification during maintenance.
Understanding Copper Earthing Price and Investment Value
The copper earthing price varies based on size, length, and coating thickness. While the initial cost of copper bonded earthing electrode price may seem higher, its durability and efficiency make it a cost-effective solution.
At GSC Infra Solutions, we offer premium-quality copper chemical earthing solutions at competitive prices, ensuring reliability and safety.
Ensure a Safe and Efficient Earthing System
Installing a copper bonded earthing electrode is a crucial step for electrical safety. By following this guide, you can set up a reliable grounding system that enhances safety and system performance.
For high-quality copper earthing electrodes and expert guidance, GSC Infra Solutions is here to help. Contact us today for the best copper bonded chemical earthing solutions.
Contact us: +91-9999886013, +0120-4296013
Email:- info@gseindia.in


